
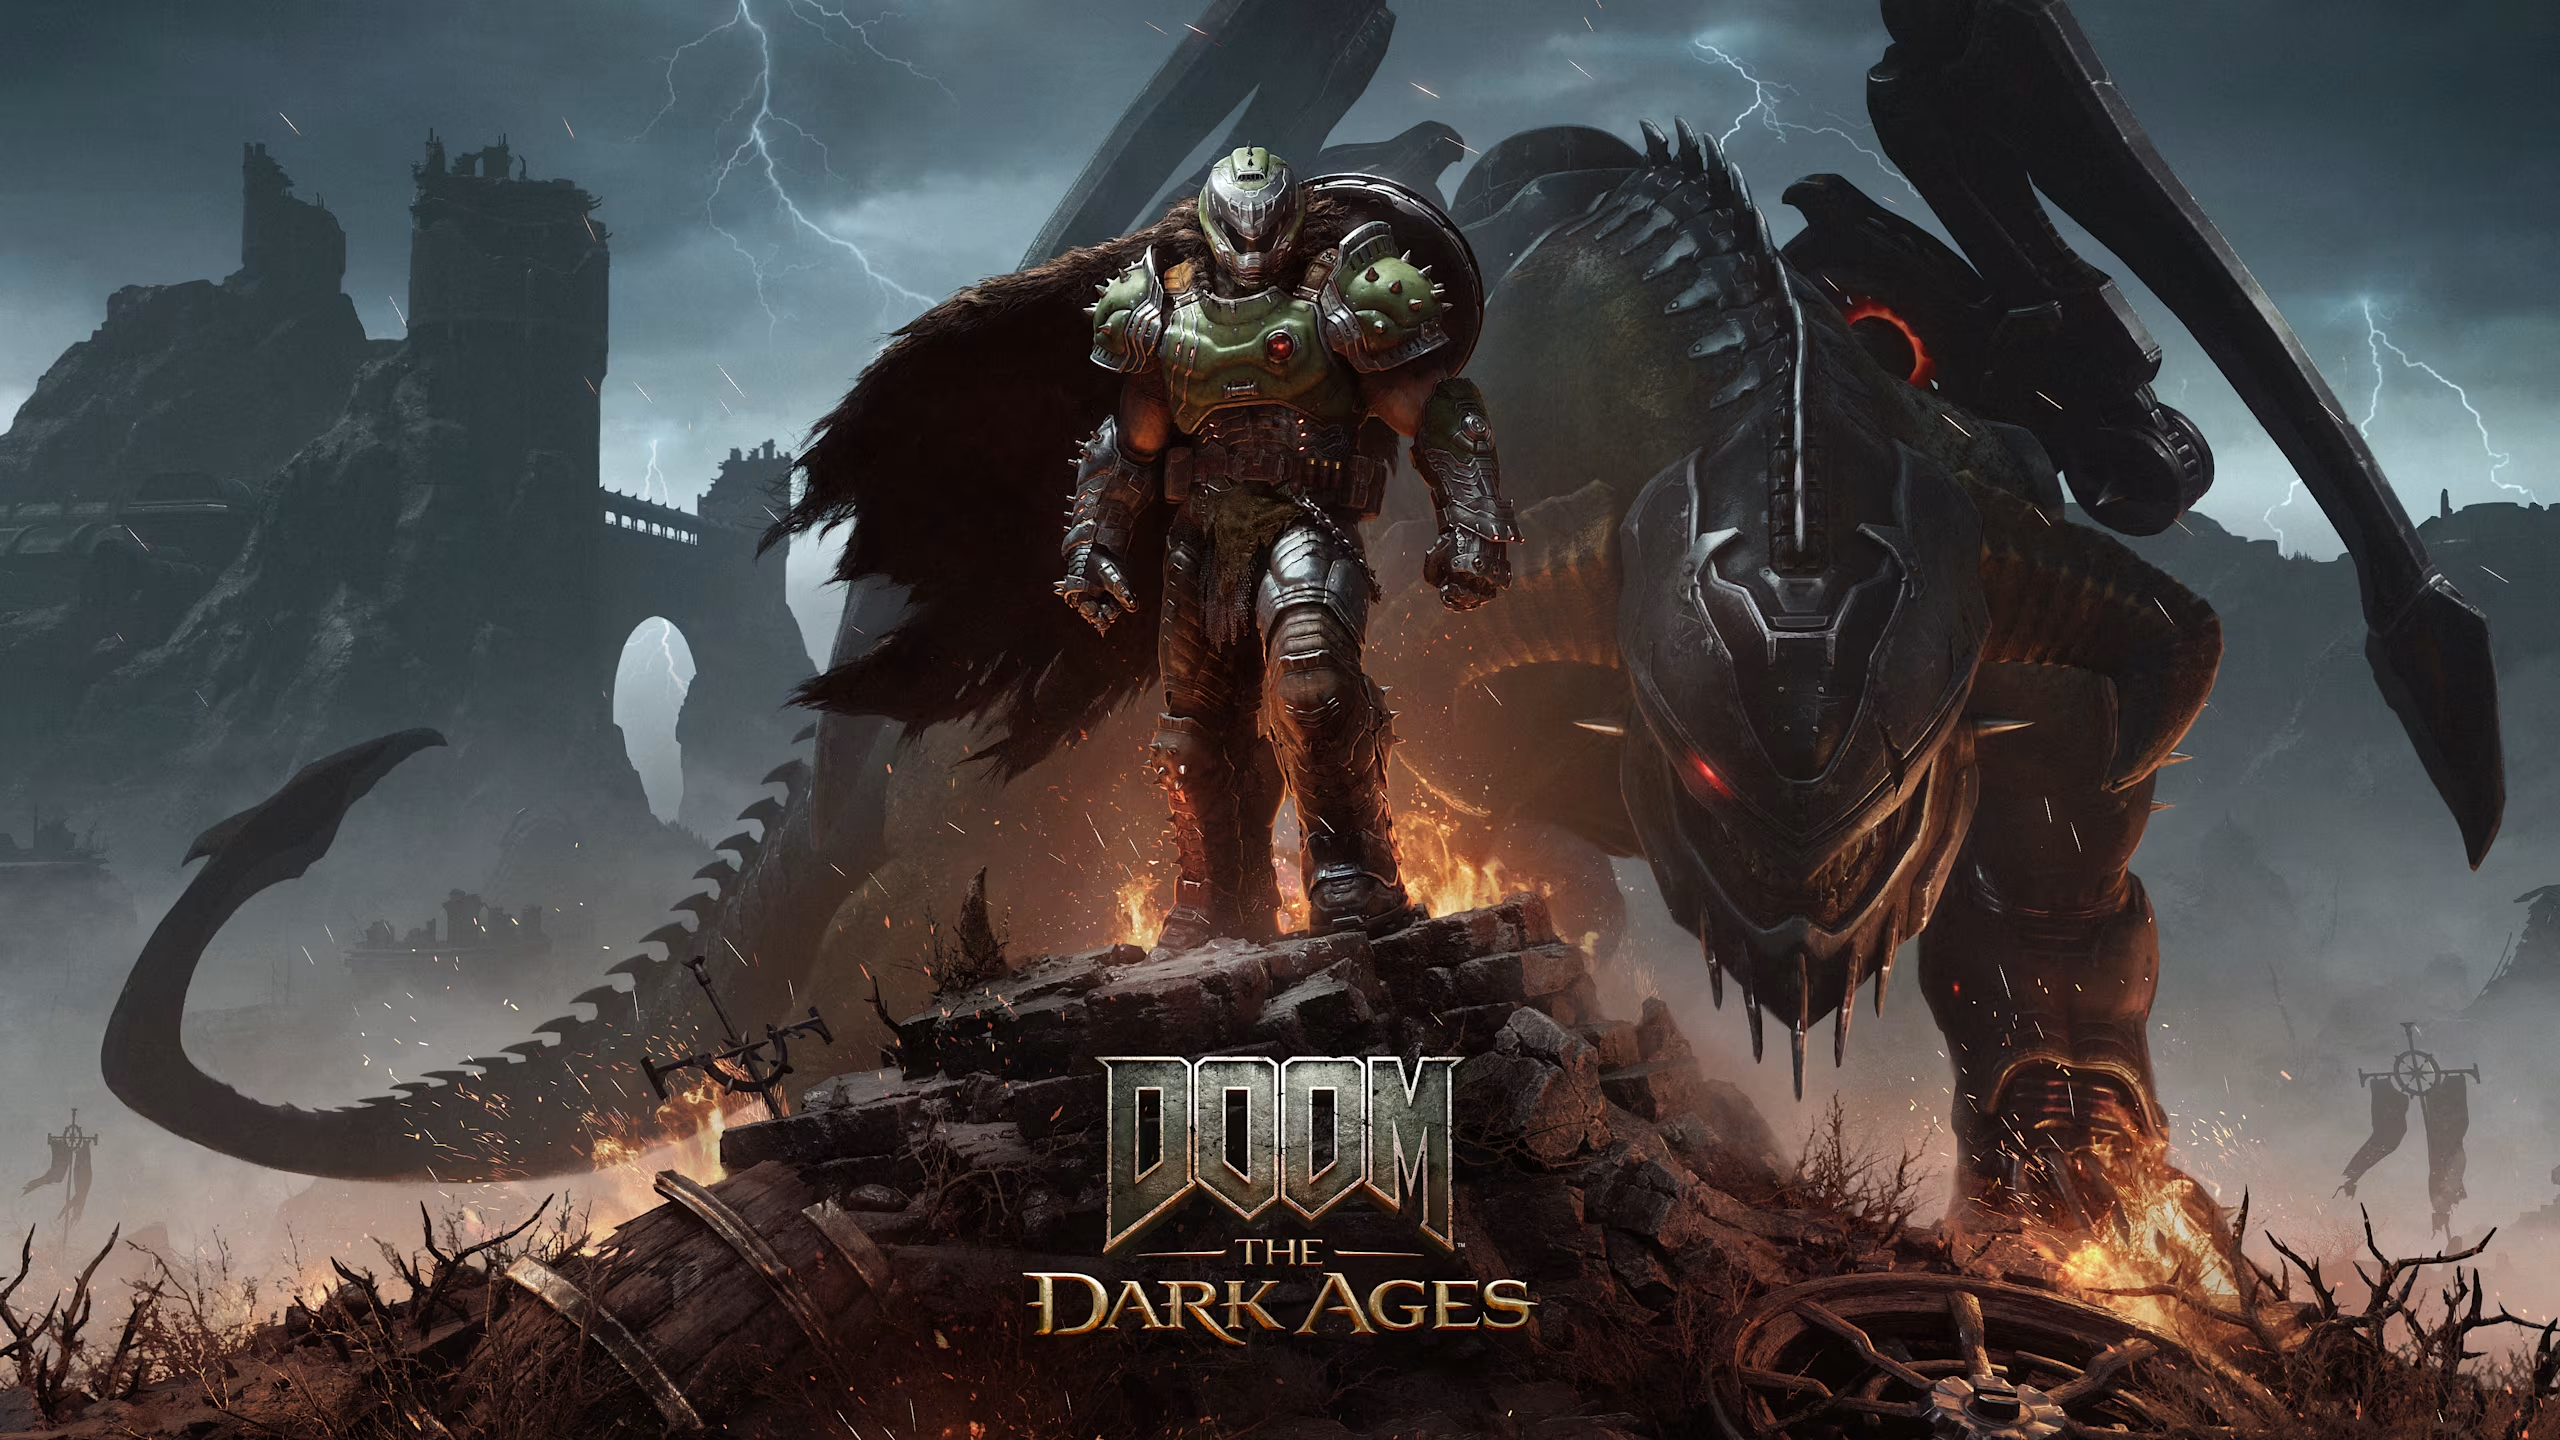
In DOOM: The Dark Ages, make the Shield Saw part of your normal combat decisions rather than an emergency button. Blocking, parrying, throwing the shield and using melee attacks work together. If a fight repeatedly goes wrong, identify the missing action instead of simply pushing forward more aggressively.

Watch the shield and the incoming attack
Bethesda’s advanced combat tips explain that excessive blocked damage can overload the shield temporarily. Watch its condition and practise responding to parryable Hell Surge attacks rather than trying to absorb every hit.
Throwing the shield creates another trade-off: it must return before you can block or parry again. Look at the next incoming threat before committing to a throw. Practise recognising one enemy’s cues in a manageable encounter before adding several new techniques at once.

Use the appropriate answer to enemy protection
Blue energy shields and metal protection call for different responses. Bethesda describes plasma weapons disrupting energy shields, while heated metal shields can be shattered by a Shield Saw throw. Read the enemy cue instead of spending the same ammunition on every defence.
When a familiar fight becomes difficult, review which target is protected, which is interrupting you and which weapon answers that problem. The goal is a repeatable sequence of decisions, not a prescribed weapon order for every arena.

Keep melee in the resource loop
Melee attacks can replenish gun ammunition, and parrying Hell Surge attacks helps restore melee charges. Check your available charges rather than treating melee as unlimited or saving it without a plan.
If you repeatedly run dry, review when you use melee and whether you are spending ammunition against the wrong protection. Take a short practice encounter to work on that specific loop before increasing difficulty.
Explore with a purpose
The official beginner guide identifies exploration resources and Sentinel Shrines as part of upgrading the arsenal. Use the Automap and review what an upgrade actually changes before spending.
Leader Demons can provide permanent increases to maximum health, armour or ammunition reserves. Check the in-game reward rather than relying on a memorised colour table from an unverified guide. Choose upgrades that address an observed limitation in your play.
Make the information easier to read
Bethesda’s accessibility guide documents control remapping, parry recolouring, high-contrast options and the Threat Detector. If you cannot distinguish a parry cue or spot an off-screen threat, review those settings.
Change one relevant option and repeat a familiar encounter. Difficulty and gameplay modifiers can help you practise a particular response; increasing every challenge at once makes it harder to identify why you are failing.
Review a failed attempt
Ask whether you missed a cue, overloaded the shield, threw it at a poor moment or ran out of a resource. Pick one issue for the next attempt. Retreating briefly to regain awareness can be more useful than treating aggression as an instruction to ignore danger.
Check your installed build’s tutorials and descriptions when behaviour differs from an older video. This guide offers a learning sequence, not a claim of a tested fastest route or an unbeatable loadout.

Zachary Skinner is the editor of TechDrivePlay.com, where tech, cars and adventure share the fast lane.
A former snowboarding pro and programmer, he brings both creative flair and technical know-how to his reviews. From high-performance cars to clever gadgets, he explores how innovation shapes the way we move, connect and live.